It has been a long time since I’ve posted on the OstomyOutdoors.com. Just because I have been quiet doesn’t mean life has been void of adventures. In fact, the reality has been quite the opposite. This has been an incredible year full of many wonderful trips in the wilds. In fact, Doug and I spent the most nights backpacking in the wilderness together this year than we have at any other point in our lives. A total of 25 nights were spent in the backcountry.
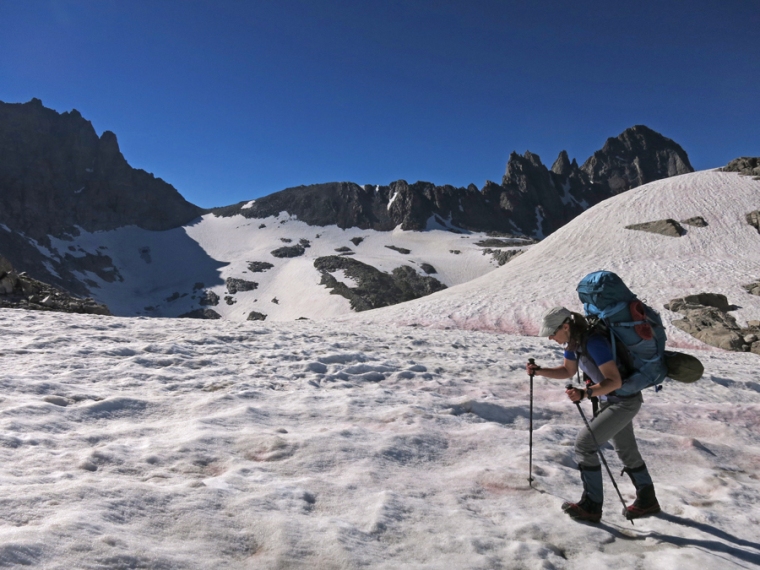
The biggest of these trips was a 16-day, 90-mile-long backpack in the Wind River Range of Wyoming in August. What made this trip unique is that it was unsupported; we carried all of our food and fuel with no resupply along the way. This led to us both carrying very heavy loads: our packs on the first day of the trip were over 70 pounds.


Yes, that is an unusually heavy pack. However, depending on the season, my typical pack weight is still anywhere from 35-55 pounds on mountain trips that are over three days. I am sure all my ultralight backpacking friends are cringing!
Though I have incorporated lightweight gear and packing strategies into my backpacking system, an extreme sensitivity to cold (I am wearing a hat and down jacket in my 68-degree home as I type this) means I must bring a higher-than-average amount of insulating clothing and a very warm down sleeping bag–even in the summer season. I also have Raynaud’s Disease which limits blood flow to my extremities when I am chilled. My fingers and toes become waxy-white and numb and are at an increased risk for cold injury such as frostbite.


Mix the extra weight of these body-warmth necessities with the added ounces of spare ostomy supplies, the bear-proof food storage containers that are increasingly being required on public lands in the west and a few minor luxury items like my sketchbook, and the pounds add up. I am quite sure I am never going to be carrying a 25-pound pack on any trip that is more than an overnighter.


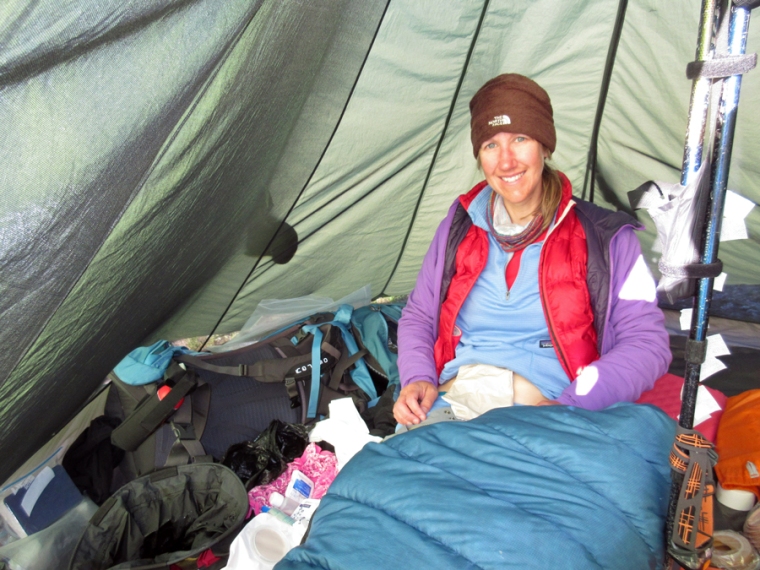

For the most part, I seem to do well as a “pack mule.” For a couple of summers during my late 20s, I worked for the National Outdoor Leadership School (NOLS) instructing 30-day wilderness backpacking courses. We carried monster packs on those trips– something my body seems to have retained the muscle-memory for despite 20 years passing by. However, one of my biggest concerns when hauling a heavy load– or during any strenuous activity for that matter– is developing a parastomal hernia. So far I have avoided getting one and I would like to keep it that way.
So what do I do to safeguard myself?
First, I made sure to work back into exercise slowly after surgery– especially during the first year post-op. For my early post-surgery backpacking trips, I double-checked my pack weights with my surgeon to make sure it was okay for me to carry various loads. After a while, he said it was fine to listen to my body.
Secondly, I keep my core strong by doing planks and other ab-friendly exercises (once I recovered fully from surgery and got my doctor’s okay, of course!). I also am mindful of not gaining excess weight by eating a healthy diet and exercising regularly. Being overweight can cause pressure against the abdominal wall and increase one’s risk of parastomal hernia.
In addition, Doug lifts my pack up to my back when it is over about 50 pounds. Once the pack is centered on my hips and legs, my core is not stressed at all.
Beyond that, my most important tool is a hernia prevention belt. Though I have heard mixed opinions from surgeons on the degree to which these belts actually prevent hernias, the abdominal muscles around my stoma absolutely feel more supported when I wear it during activities that could be hard on the core. These include backpacking, mountaineering, rock climbing, weight lifting, snowboarding, Zumba, yoga, and coughing/sneezing when I have a cold or the flu! I figure it can’t hurt to stack the odds in my favor by using a belt.
So which belt do I use?
I wanted a belt that provided substantial support for the abdominal wall around my stoma, not just a stretchy band. My WOC nurse recommended the NU-Hope hernia belts so that is the brand I went with. I wear their Flat Panel model in the Cool Comfort Elastic option (shown on page 5 of the Nu-Hope link below.) This belt is designed with prevention in mind and is made of a breathable mesh that works great for activities that work up a sweat. It comes in various widths. I use the 6-inch wide model for most of my activities as I find it the most comfortable. The one exception is for yoga when this size prevents me from bending. Instead, I use the four-inch-wide belt for yoga.
Nu-Hope also makes models with even more support for those who already have a hernia. The belts have a hole for the pouch to extend through that is specific to the size of your flange. If you ever change the wafer size of your appliance, you will have to get a new belt. Nu-Hope can also make custom belts if the regular sizes don’t work well with your appliance or stoma location.
Nu-Hope has a great online guide for explaining belt sizing.
http://www.nu-hope.com/beltlit.pdf
I also found the Nu-Hope staff to be extremely helpful when I called with questions on sizing before ordering my first belt. Nu-Hope does not sell belts directly. Once you know your style and size, you order through your main ostomy medical supply company. Also make sure to check your insurance policy as it may cover a portion of your hernia belt.


I only use Nu-Hope Hernia prevention belts, but there are other brands out there. Quite a few manufacturers claim that their products are designed for hernias, but I would suggest checking with your WOC nurse for their brand recommendations. You want to make sure you get a belt that provides firm enough support and they would know which belts patients have had good experiences with.
Even though I love my Nu-Hope Flat Panel belt, I do pair it with a couple of other things to improve its performance.
First, because the width of my waist is smaller than my hips, the belt does tend to ride up to that narrow spot. I remedy this by always wearing my belt under a pair of Comfizz brand High-waist ostomy boxers or briefs. This underwear does an exemplary job of holding the belt in place so it doesn’t shift. In fact, I love these underwear for sports whether or not I am pairing them with my hernia belt. They are also wonderful for concealing your ostomy appliance under form-fitting pants and dresses. Comfizz is a brand out of the UK, but their products are reasonably priced and ship to the USA incredibly quickly. They also have great customer service!
Second, I do get some skin chaffing and soreness from the hernia belt when it is compressed under my backpack hip belt– especially with very heavy loads. I remedy this by sliding some 8″ by 8″ squares of polar fleece in between the hernia belt and my skin. This adds a bit of cushion and prevents friction. Fortunately, the fleece doesn’t make the hernia belt too much warmer to wear, as those areas would be under my thick, non-breathable pack waist belt anyway.


In the first couple of years after surgery, I used my Nu-Hope hernia prevention belt during all exercise. However, as the years went by and my core got stronger, it felt like overkill for some of my milder activities such as running, cross-country skiing and bicycling. However, I still like some abdominal support when engaging in these sports and found a product I love for them: Comfizz Level-two boxers. Similar in shape to the regular Comfizz Level-one Boxers, the Level-two have an extra-thick section of stretchy fabric over the abdomen which provides really nice support when I don’t want to wear a full-on hernia belt for less core-intensive exercise. These undergarments are also available as briefs if you prefer that style over boxers.
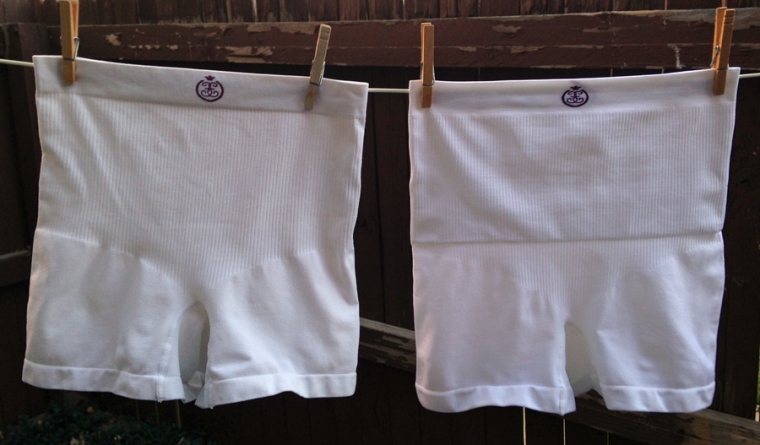
Though there is no way to completely safeguard oneself against a parastomal hernia, these products help me feel much more secure during all my active pursuits. If a hernia or fear of developing one is keeping you from getting out in the wilds, I would encourage you to talk to your WOC nurse and medical team and explore belts and other options that could offer protection.
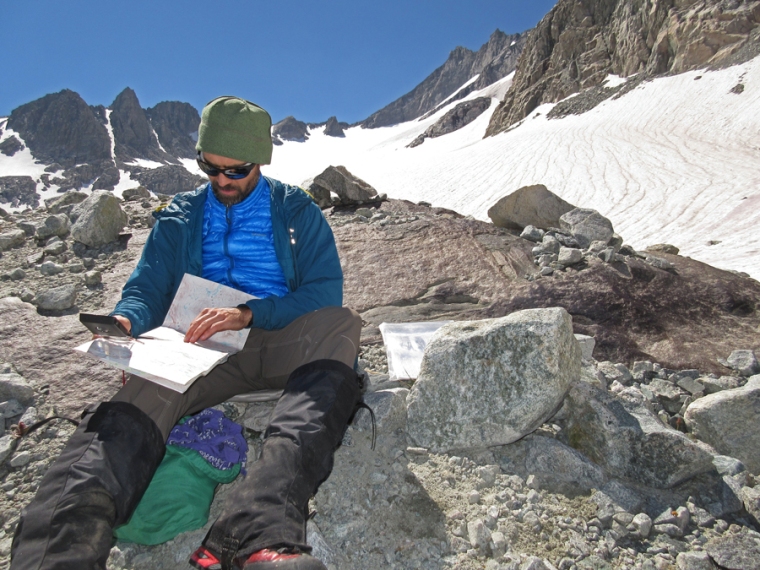
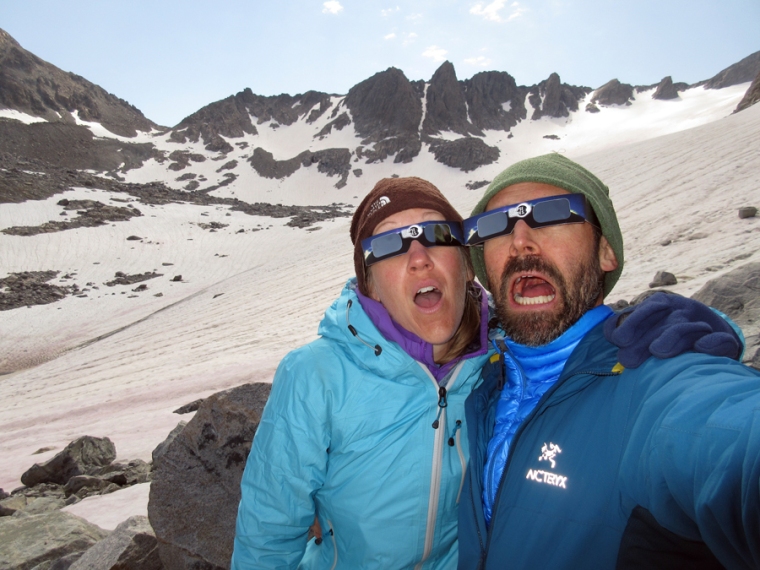
I am going to end this post with a few more photos from our big trip this summer. Happy hiking!





WOW! You and Doug are amazing. Thank you for sharing and inspiring all of us. May you have many more adventures, and please share them with us as you journey through you life.
Hi Jo-Ann,
Thank you!!! I am glad you have enjoyed reading about our adventures. I like reading your blog as well! I will definitely continue to post (it just might take me a while sometimes!) 🙂
Best,
Heidi
Wow, Heidi, what a great blog! I really love how well you document everything, that makes your blog really informative. Also, I love watching you and Doug have such a great time together. 🙂
Thanks, Amy!!! Doug and I sure have had a fun year spending time in the out-of-doors. It is wonderful to live in a place where there are so many spectacular places within a day’s drive. I hope you and your family are doing well! -Heidi
Glad to have you back… really enjoy your stories and “details”…wish you many miles Another Doug in Seattle
I am glad that you enjoy reading about our adventures and that the product details and ostomy management tips are helpful. It felt great to write a blog post again after all this time! Wishing you many amazing adventures as well! -Heidi
Great post! I was wondering if you were still out there… 🙂 I want to thank you for all of the tips and tricks you have posted in the past. I still use several of your ideas with great effect! (the paper towel hat suggestion has been the best one for me.)
I really like your writing style and enjoy reading about your adventures. You helped inspire me to get back into kayaking and and biking this past summer. Thank you!
Hi Kelly,
You are very welcome!
Yep I am still here, but between work, adventures and just having some time to relax it is hard to find time to blog sometimes. There is so much I still want to write about though. I am glad the tips and tricks have been helpful for you and that you got out kayaking and biking. Woo hoo! So happy to hear that! I just returned from a rock climbing trip to Red Rocks near Vegas last week. It was incredible!
Hope you have some great adventures this winter!
Best,
Heidi
Hi Heidi, great to see you are still updating your blog. You were a massive inspiration to me after my Ileostomy surgery in 2012. I just couldn’t see a way to hike, camp or hill climb with a bag. It seemed so unlikely I would be able to these things again. Until you set me straight!! I can hardly begin to describe how I felt reading ostomy outdoors for the first time. I honestly think I cheered out loud afterwards. If Heidi can do it, then i’m going to do it. You gave me that confidence.
Thank you Heidi.
Hi Danny,
Yay! Reading your comment made my day! Thank you for the kind words. I am so, so happy to hear that you are out there enjoying outdoor activities again and that the blog helped you get there!
I just returned from rock climbing for a week in Red Rocks Conservation Area near Las Vegas. Even though I have now had my ostomy for seven years (as of November 8th) and I am still overjoyed every time I am out there doing things I love instead of being sick.
I hope you have some amazing adventures in the upcoming year!!
Cheers,
Heidi
Hi Heidi,
Thanks for replying. I had always meant to get in touch to say you made a difference, to me at least.
Looking at some of the photographs from your adventures the scenery is superb. My brother emigrated to California 2 years ago (I’m in Scotland), and I’m definitely going to invite myself over for a vacation and sample the American back country. In the meantime I have just bought myself a Hilleberg Unna and plan on doing some multi day hikes in the new year. My goal for 2018 is to watch the sunrise from the summit of a mountain.
Have a great new year,
Danny
Hi Heidi, your posted adventure is the closest comparison to Alaska’s majestic terrain, really a nice trip you’ve had. I saw you were journaling, if you find time to share some of those would be great. My reason is selfish, not having the talent. I would like my six year old granddaughter to learn the value of journaling, she has drawing talent, my 76 years limits our time for building memories. I take her out as much as I can. Thanks for your great example!
Hi Michael,
Thanks for your patience in waiting for a reply. One of the reasons I have been so slow to respond is that I have been doing far more nature journaling lately than blogging:) I am so happy to hear that your granddaughter is interested in journaling too! As I don’t post journal pages much on this blog, I would recommend tuning in to my other blog, WildernessInk.com. It has sat dormant for a while, but I am in the process of starting it up again and just did a post that featured many of my journal pages. I plan to continue to post more sketches and other art there in the future.
Another helpful journaling resource that has been a huge inspiration for me is the blog of John Muir Laws, an artist and nature journaler in California: JohnMuirLaws.com. He writes all sorts of posts on nature journaling and has videos of his classes on his blog. He also has an amazing book called “The Laws Guide to Nature Drawing and Journaling” which is one of my absolute favorite art books. If you are on Facebook, check out his page there too called “The Nature Journal Club”.
I hope this helps and that you have many great nature explorations with your granddaughter!!!
Cheers,
Heidi
very nice information and quite motivating. Keep it up
Nice post and useful information on Ostomy.
Nice article on Ostomy
Its really difficult to travel with Ostomy
Thank you for this wonderful post! Do you have any tips for strapping the hip belt of your backpack so that it doesn’t press over your bag or stoma?