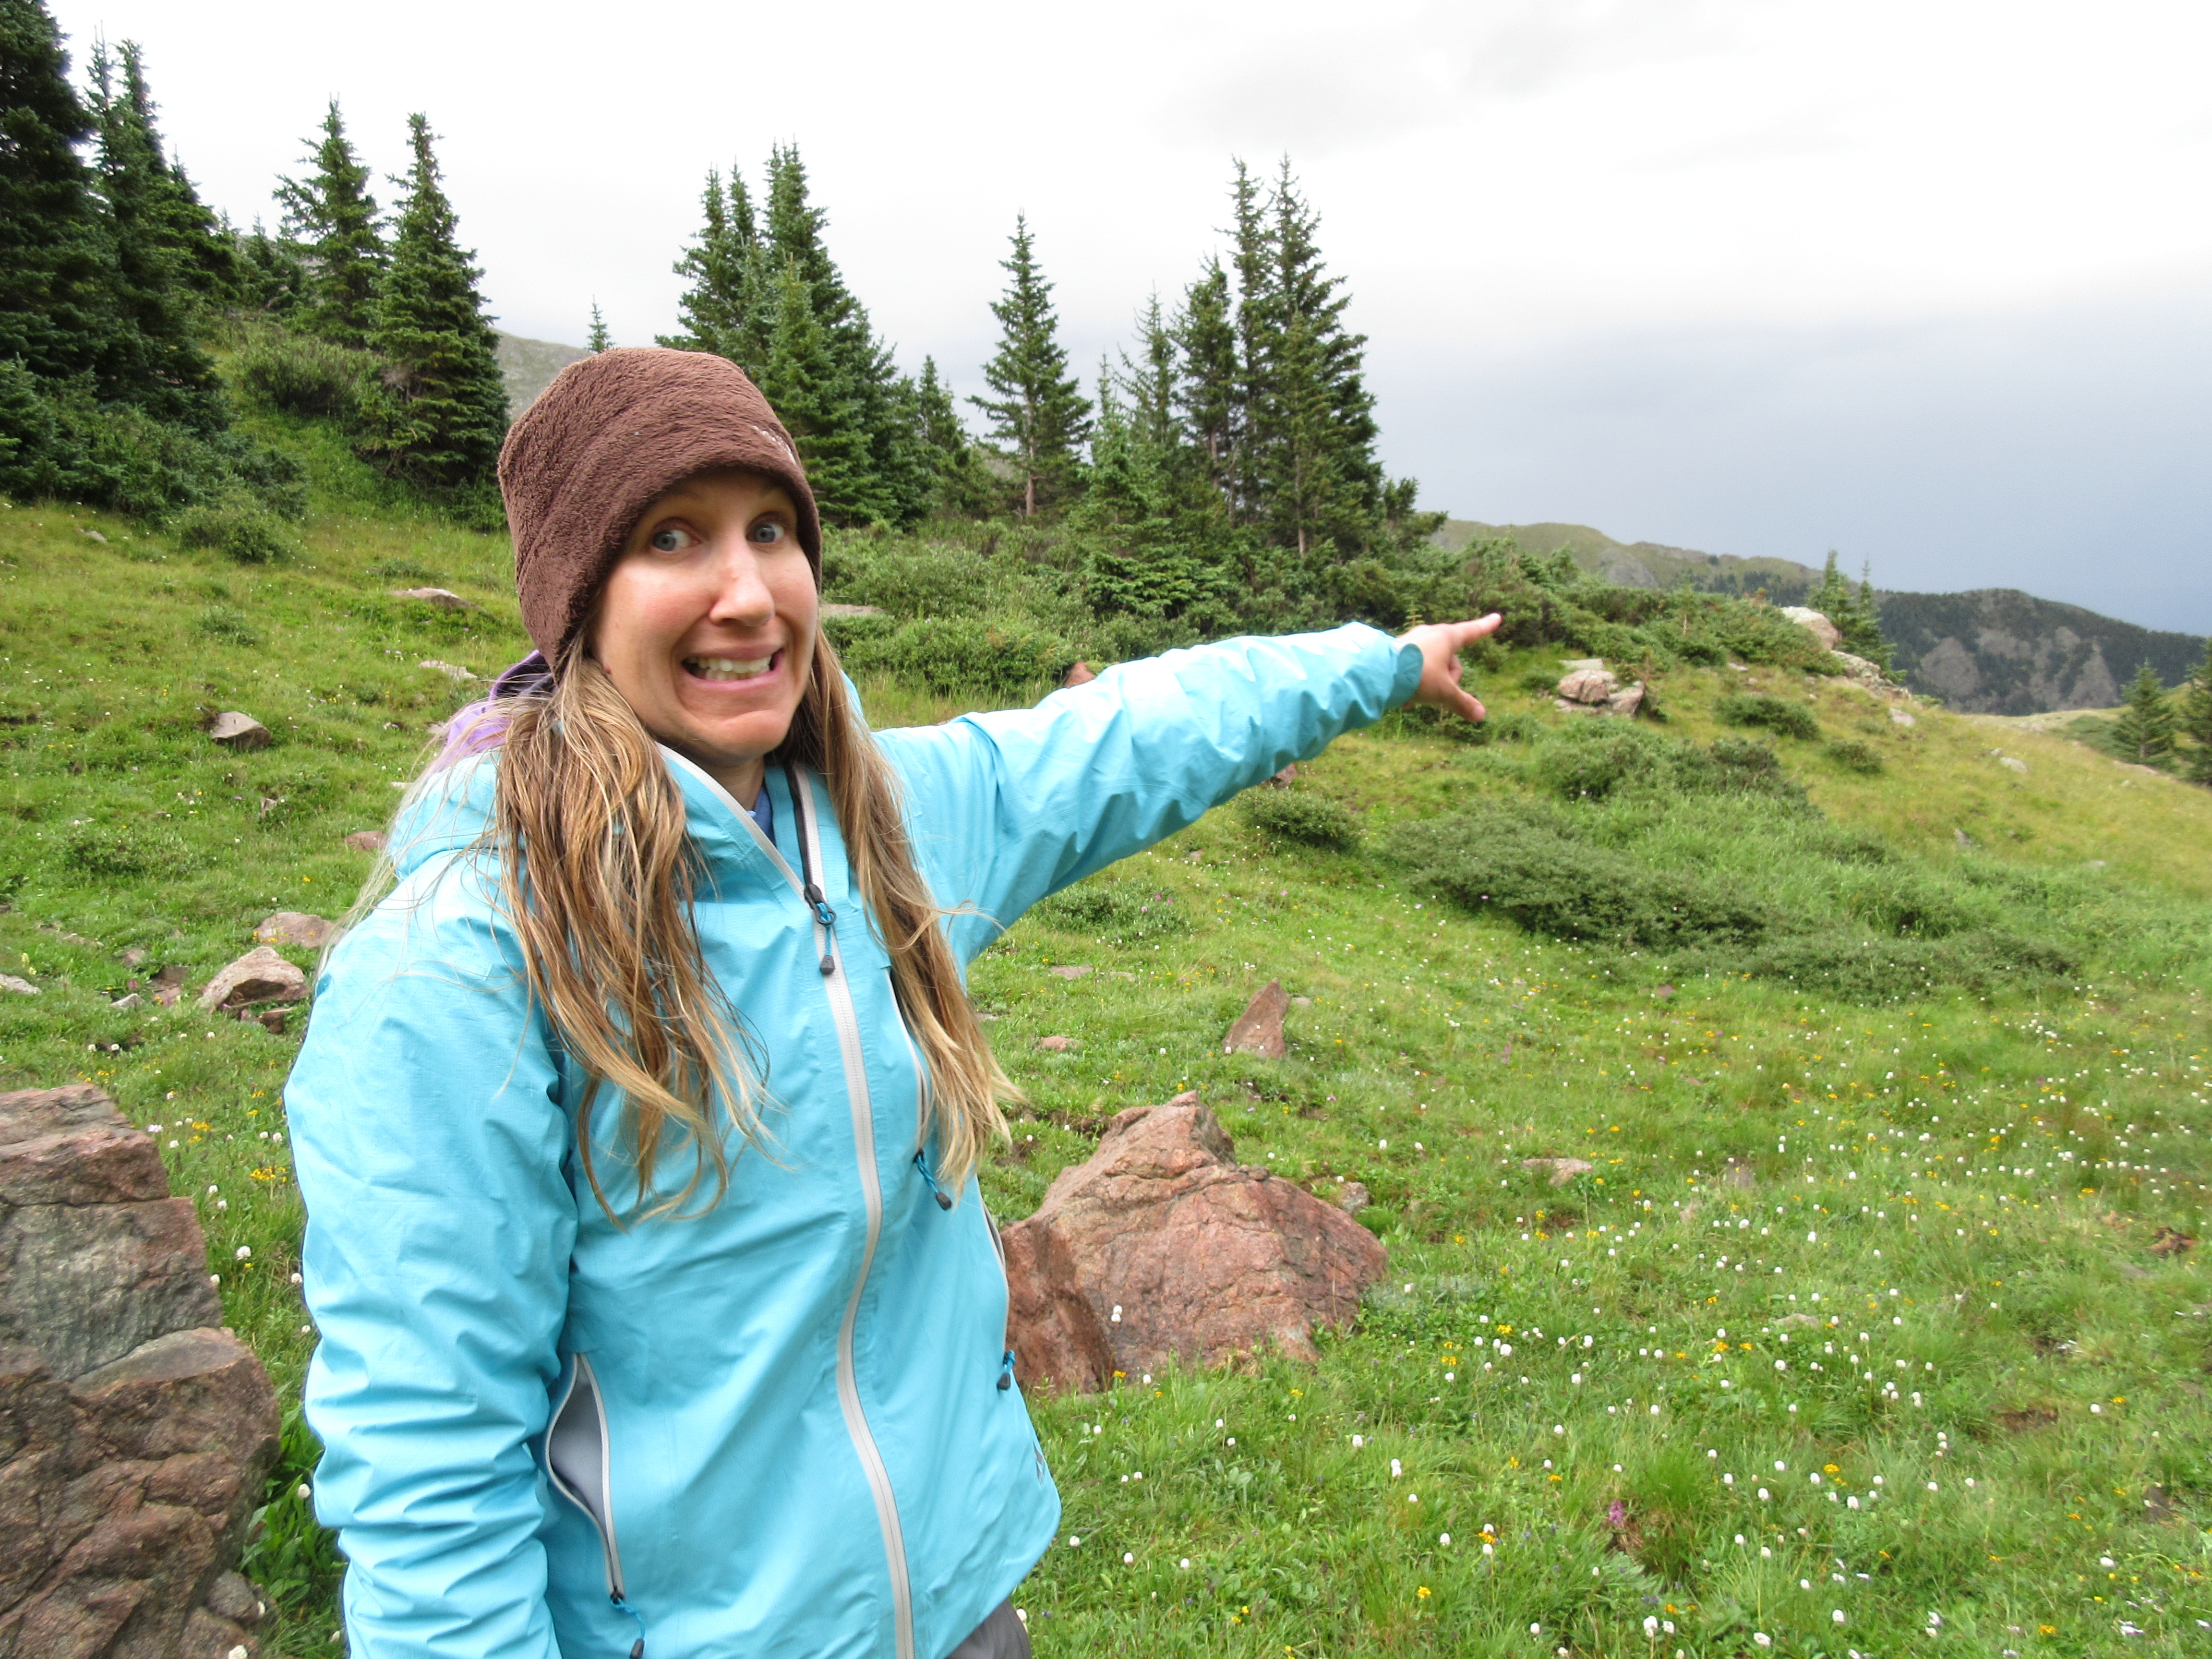
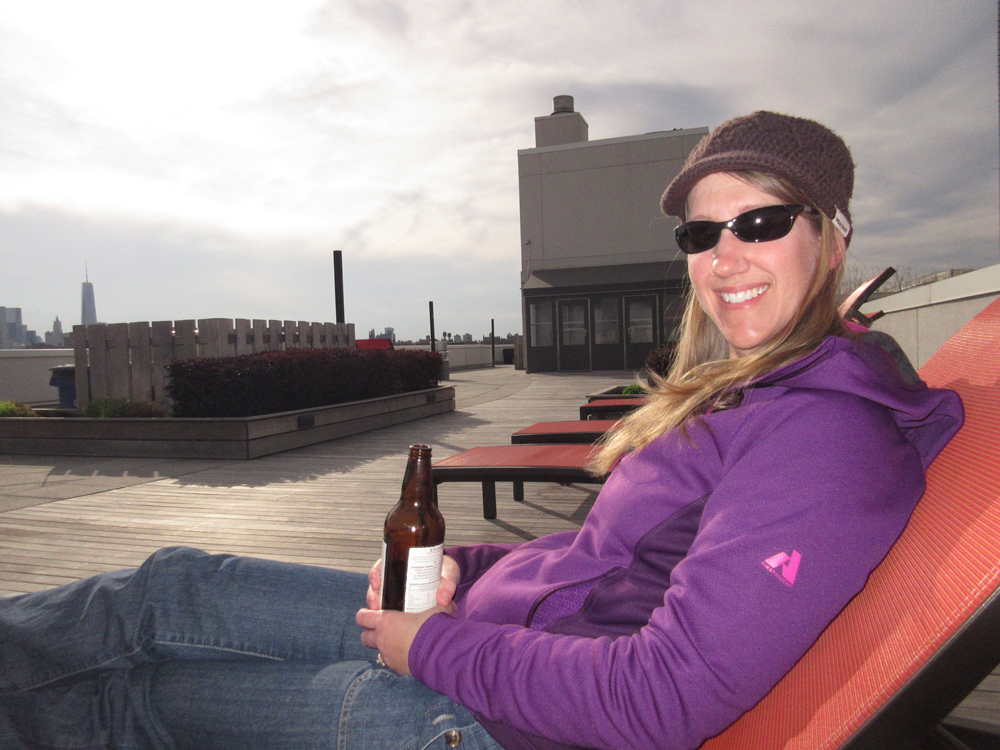
Just one more cast, I thought, as I tossed my line in the still waters of Middle Willow Lake in the Gore Range of Colorado. It was a phrase I had been repeating to myself all morning, and by that time I had completed dozens of “final” casts– almost every one hooking a hungry brookie. I nervously looked at the blackening clouds coming over the ridge but even the threat of a downpour couldn’t stop me from flinging my line in the lake again. Sure enough– a trout grabbed the elk-hair caddis fly. I reeled the fish in, released the hook from its mouth and watched it swim away.

Suddenly, a swift downdraft disrupted the glassy surface of the the lake and a crack of thunder smashed the silence of the mountain basin. That really would have to be my last cast of the day.
Doug motioned to me from down the lake shore that he too was ready to call it quits. Hail let loose from the sky and pelted my forehead as I hefted my pack onto my back and fastened the hip belt. That is when I noticed the bulging ostomy pouch on my belly and remembered that I had not emptied it since before breakfast; it was now late afternoon. Oh well. It would have to wait. Doug and I threw on our raincoats and made our way through the forest and back to camp.
When the rain didn’t let up for hours, I cursed not emptying my pouch earlier when the weather was fair. I could have taken my sweet time digging a perfect hole in the perfect location while blanketed in warm sunlight. Instead, I was cold, damp and stuck under our cooking tarp watching the torrential rain form small lakes around our backcounty site. Teeth already chattering from the damp chill, there was no way I was going to take a ten-minute hike into the forest surrounding camp to empty my pouch. Fortunately there was another option: in the tent I had a supply of closed-end pouches on hand. Within a few minutes I had a fresh one popped on and the used one bagged up.


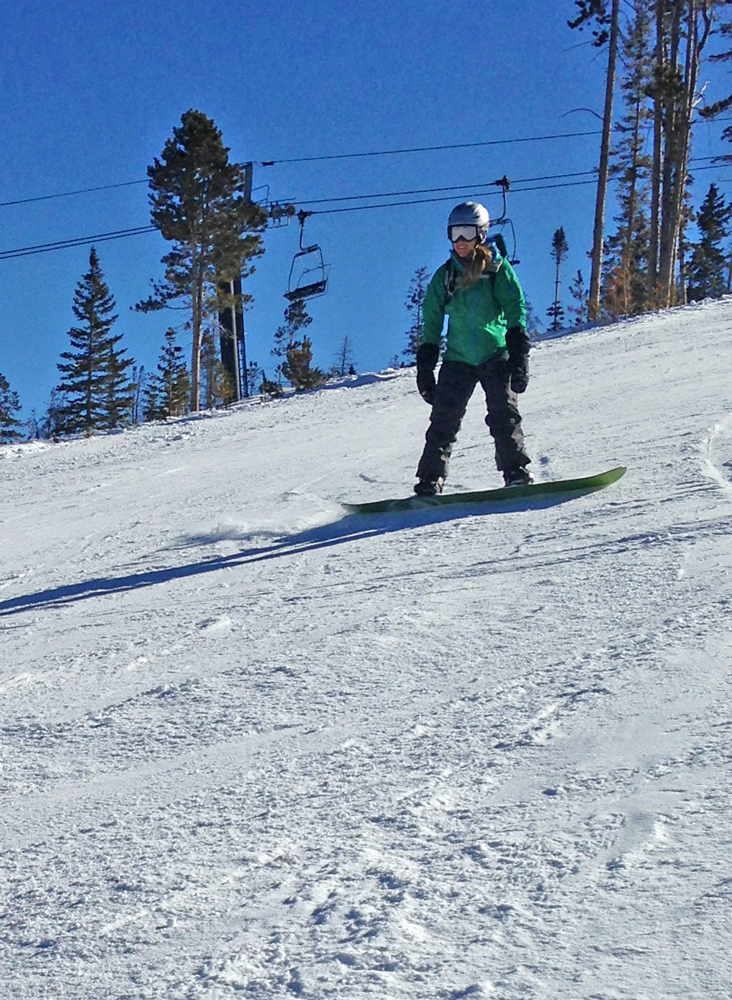
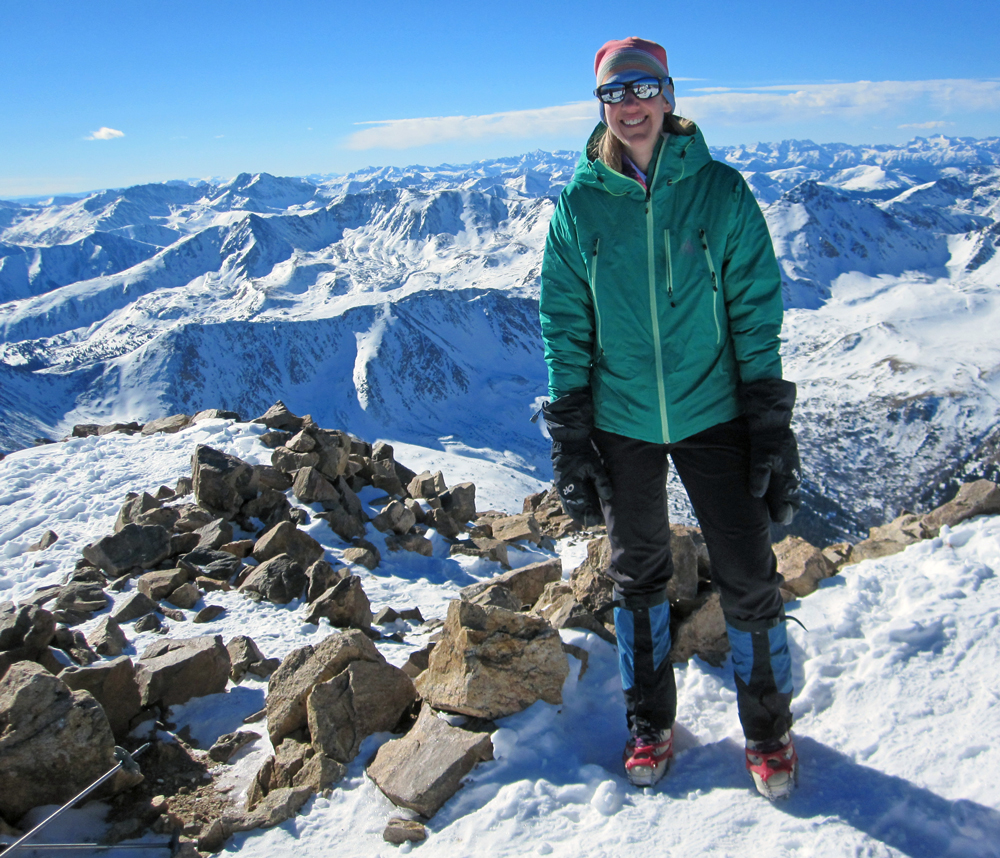
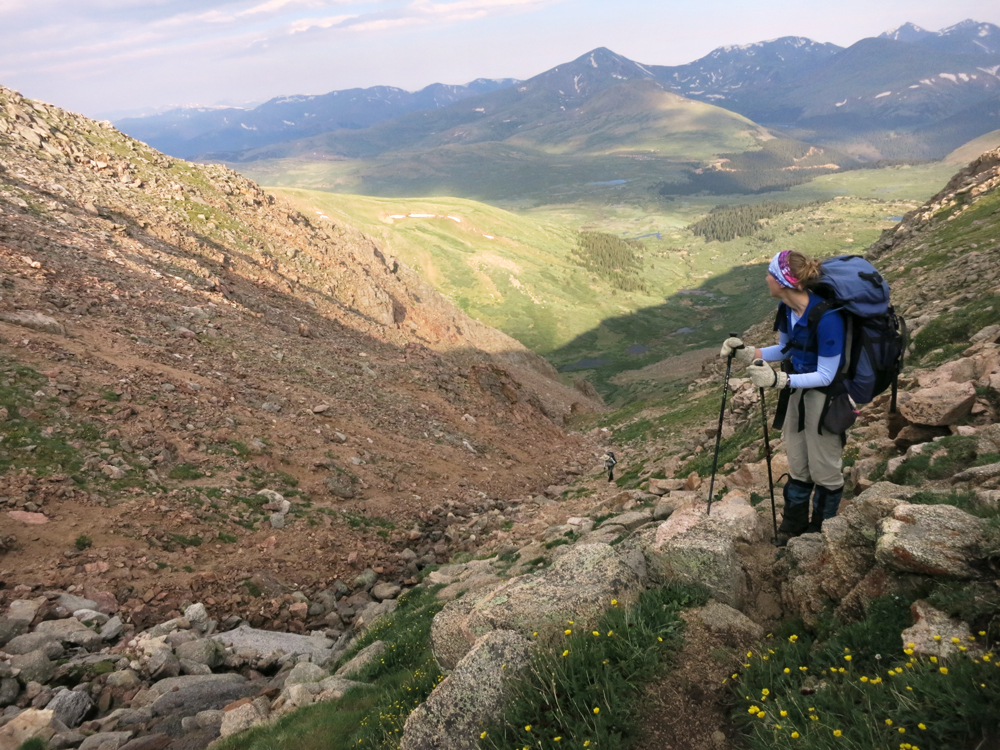
Our backpack in the Gore Range has been just one of many outdoor adventures we have embarked on this summer (which is one of the reasons I have been so absent on this blog!) We also went on two more backpacking trips, including a short trip in the Mt. Massive Wilderness and a rugged nine-day adventure in the Sangre de Cristo Wilderness– all in our home state of Colorado. Early June also included a climb of the First Flatiron in Boulder, CO. Each trip was unique, and I loved having a variety of waste management techniques to pull from. In this post I will highlight my favorite products and techniques for dealing with output during those situations when emptying would be inconvenient or impossible. Some of these methods I have written about before and are tried and true for me. Others are new things I have just recently discovered.


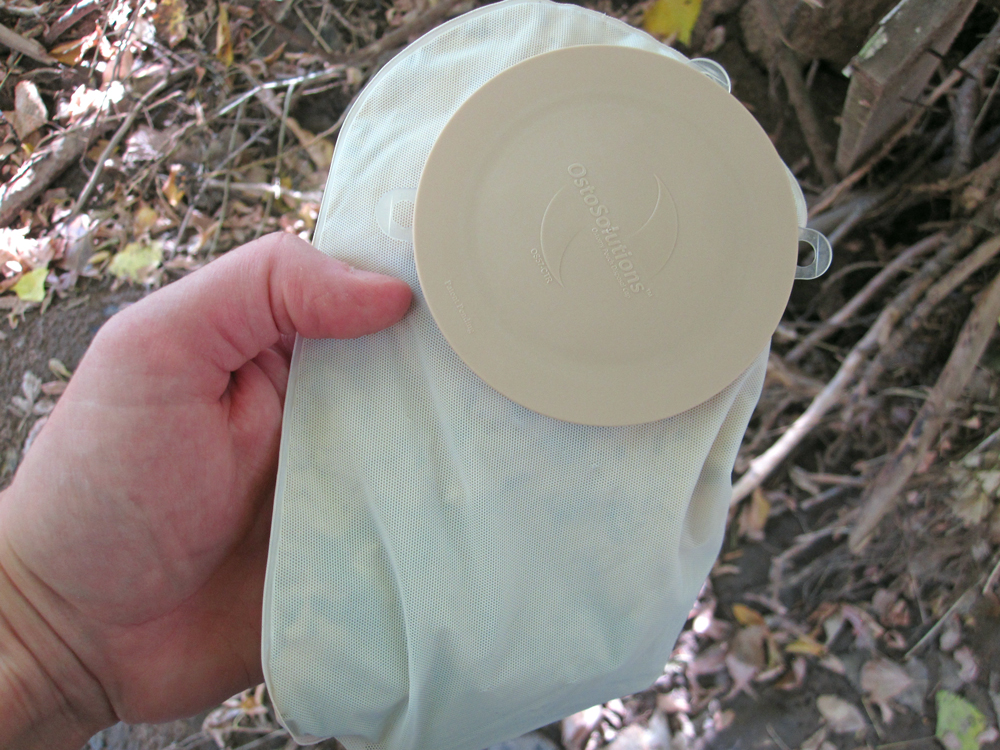
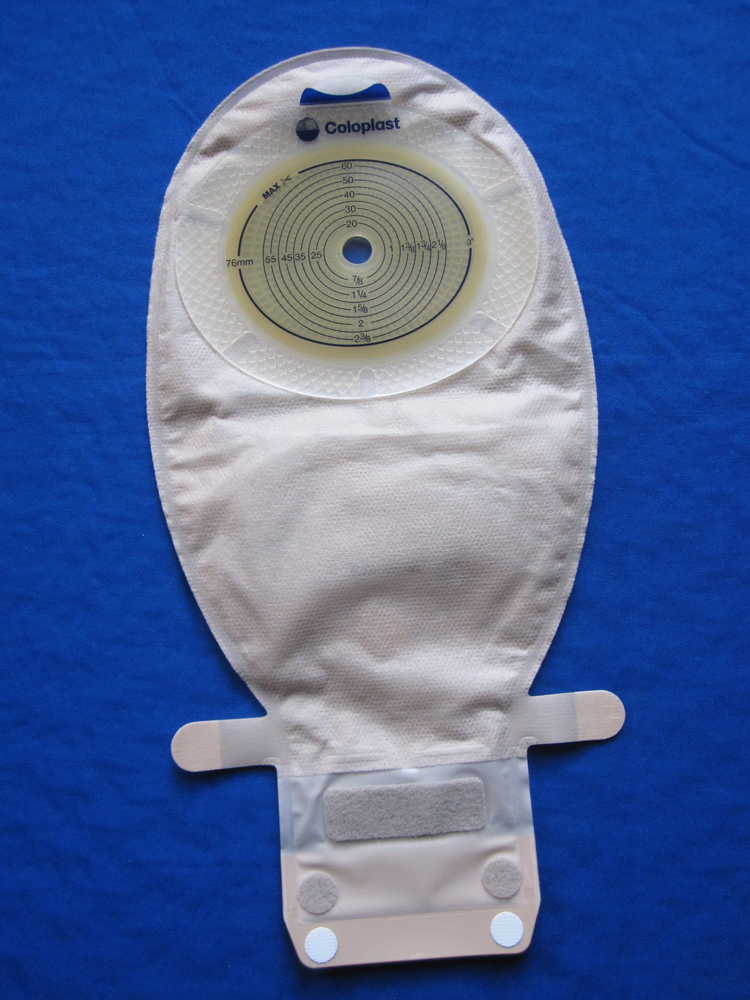
Closed-end pouches
So often, closed-end pouches are labeled as being designed for colostomies. True, ileostomates tend to have more profuse output which makes swapping out multiple pouches everyday an expensive endeavor. However, for certain short-term situations, closed-end pouches can be an incredibly useful tool for all people with ostomies.

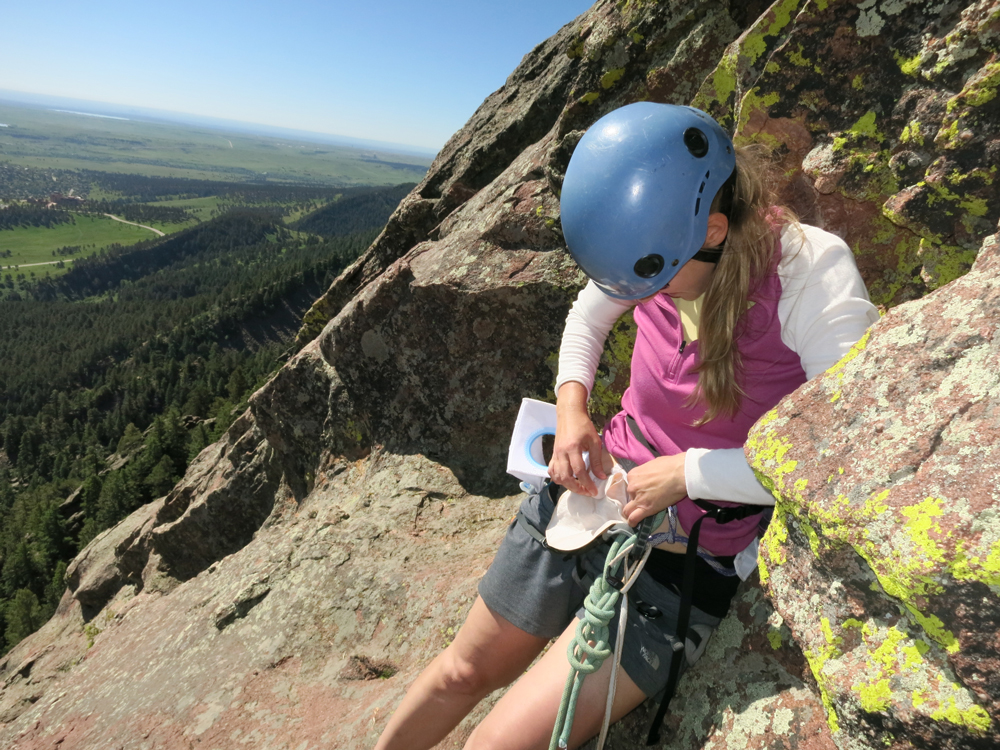
I use them on rock climbs, trips near water, snow adventures and any other times when the environment does not allow for digging holes to bury wast. They are easy and mess-free to swap and pack out. Moreover, lately I have discovered their handiness for nighttime use on backpacking trips.
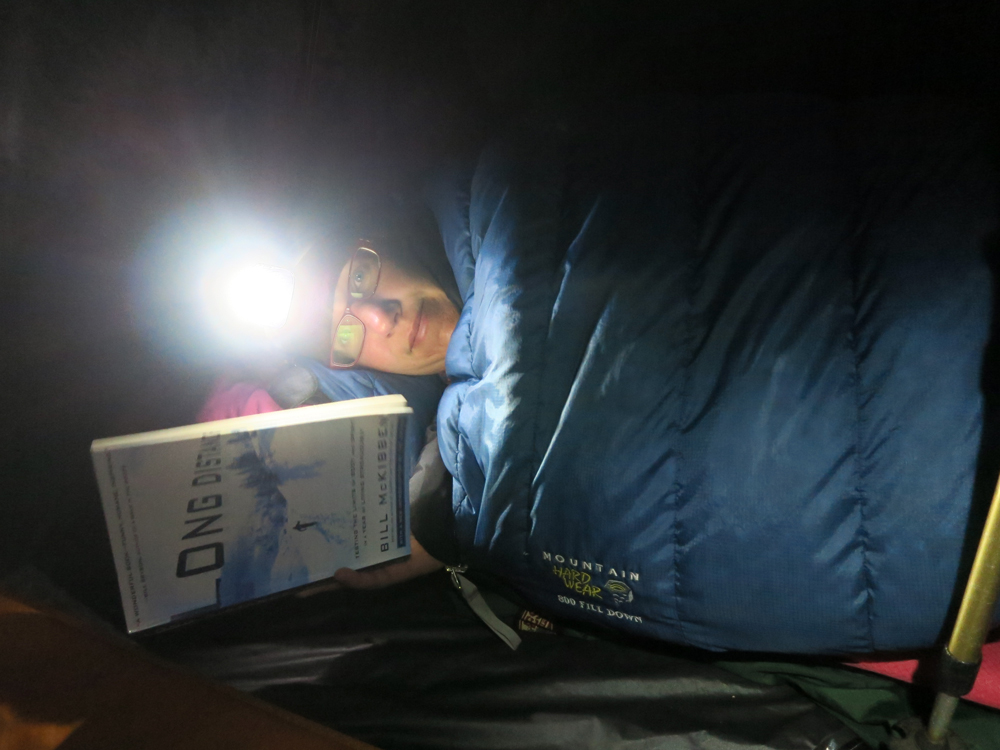
Though I dig holes and empty 90% of the time while backpacking, overnight emptying has always been a challenge for me. For some reason my digestive system changes when I am doing strenuous activity all-day and I have to empty a lot more at night than I do at home.
In order to minimize my impact on future backpackers, I like to walk a fairly long distance from camp to empty, and I only dig holes in areas where no one would likely set up a campsite in the future. The problem is, places like that are hard to find in pitch blackness. I used to pre-dig a few holes during the day and then make mental notes to find them in the dark, but it was still a challenge to hike to these locations in the middle of the night when I was sleepy. If it was raining, it was even worse. I soon discovered it was a lot safer to stay close to camp and swap out closed-end pouches in the middle of the night. During the day, I would go back to using a drainable pouch.

Doggie Poo Bags
Managing an ostomy in the wilderness requires packing out used supplies. One of my favorite items to secure used pouches and wafers are simple opaque black doggie-poo bags. They are cheap, non-bulky, and lightweight. Moreover, Ziplock bags can easily un-zip or pop open when jostled. However, doggie poo bags can be tied tightly with an overhand knot. Even when packing out pouches with the the most watery output, I have never had one leak.
LOKSAK OPSAK Odor-proof Barrier Bags
Though doggie-poo or other plastic bags may work well for holding used pouches, they don’t do a good job of containing odors. Even when I double-bag them in a regular Zip-lock bag, the smell still comes through. One great product for solving this dilemma is OPSAK odor proof barrier bags. They come in two different sizes and are great for holding in odors when you need to pack out full ostomy pouches. They are pricey, so I place all my sealed doggy-poo bags into one OPSAK, empty it into the trash at the trailhead, and then save it for another trip.


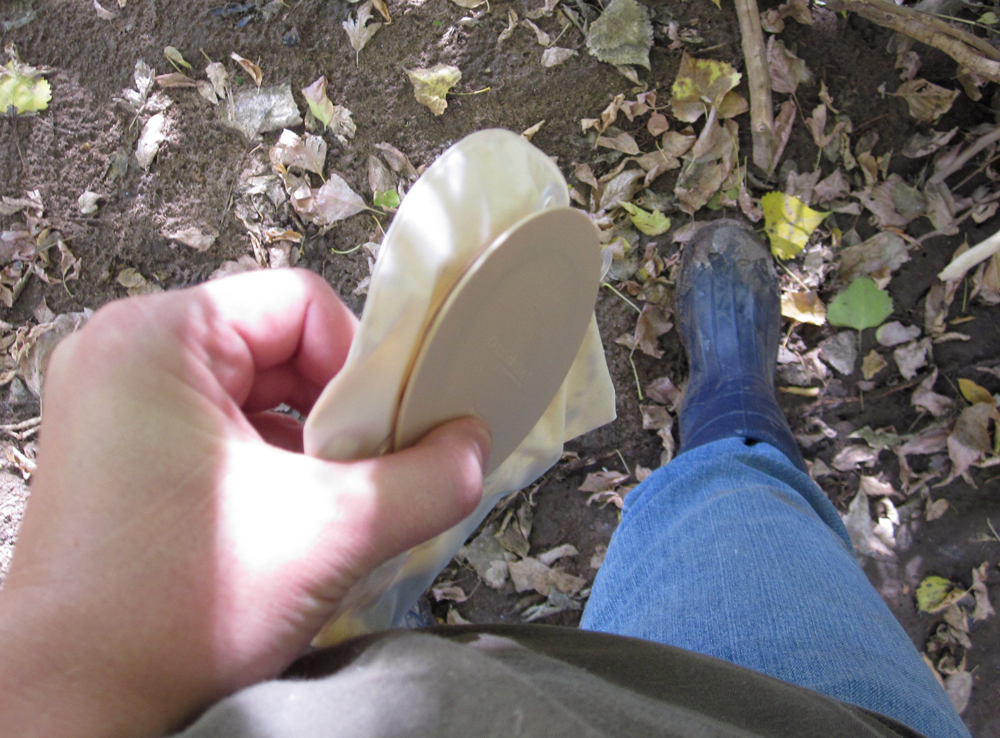
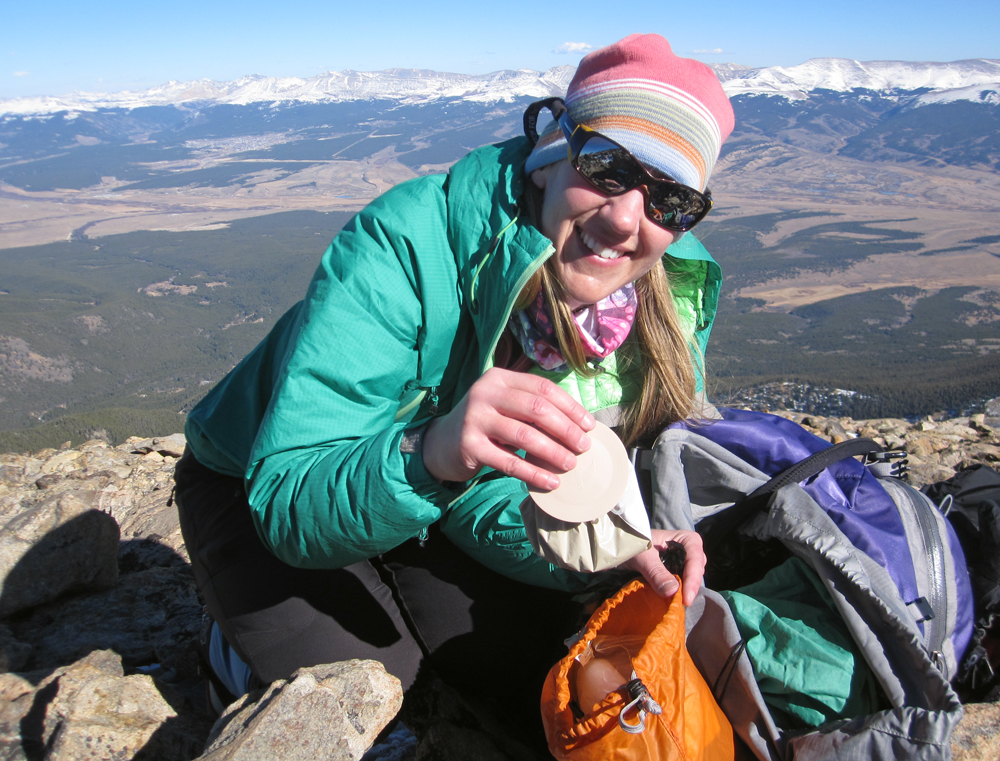
OstoSolutions Ostomy Pouch Disposal Seals
Unfortunately, closed-end pouches that are full of ostomy output are incredibly heavy and take up space in one’s pack. I once weighed my full nighttime pouches on a two-night backpack trip and they collectively weighed three pounds. Multiply that for longer trips and the extra weight becomes quite burdensome.
I was faced with such a dilemma on a nine-day backpacking trip in the Sangre De Cristo range of Colorado in August. This trip was a particularly strenuous one with difficult off-trail travel over incredibly steep mountain passes. Our packs were heavy due to the amount of food we had to carry and the last thing I wanted to do was add more weight to my pack in the form of closed-end pouches filled with poop. At first I had planned to just go out into the night to empty to save from carrying the extra weight, but every evening at bed time the storms and torrential rains seemed to roll in.


Fortunately, I found a great way to solve this problem by using some OstoSolutions Ostomy Pouch Disposal Seals that I had brought along. In the tent, I would swap out a closed-end pouch as I always had. However, instead of just tossing the full one into a baggie and tying it shut, I would cap it with an OstoSolutions Seal. In the morning, I would take a long hike from camp and dig a cathole in perfect Leave No Trace style. I would then remove the OstoSolutions Seal from the full pouch and dump the contents in the hole. Finally, I would snap the OstoSolutions Seal back on the now-empty pouch and bag it up to be packed out. The weight savings in packing out used (but no longer full) pouches was huge! The OstoSolutions Seals themselves are very light. I found that packing one for each night (plus a few more for those rare nights when I might have to empty twice) was easily doable. The seals would also be handy in alpine areas where digging holes to empty can cause damage to the delicate environment. A full pouch, capped with an OstoSolutions Seal, could be packed out until one got below treeline. There the seal could be snapped off, and the contents of the pouch buried in a much less fragile place.


Don’t let a fear of being away from a bathroom prevent you from heading into the wilds. With these four supplies (closed-end pouches, doggie poo bags, OPSAK bags, OstoSolutions Seals), you will be ready for storms, darkness, snow, rock, water, a heavy pack or any other challenges that might present themselves in the backcountry. If these supplies end up not working for you, get creative. An ostomy can be managed in even the craziest situations– it is just a matter of experimenting and finding the right tools for the job.